Complete step-by-step guide to installing a Deye hybrid inverter in the UAE. Covers mounting, wiring, battery connection, Wi-Fi setup, and commissioning.
Installing a Deye hybrid inverter is a straightforward process for qualified electricians, but understanding each step ensures a safe and efficient installation. This guide covers the Deye SUN-8K-SG04LP3, the most popular model for UAE villas.
Before You Begin
Requirements
- Licensed electrician (DEWA-approved for Shams Dubai installations)
- Deye hybrid inverter with mounting bracket
- Solar panels with MC4 connectors
- LiFePO4 battery (e.g., DEYE BOS-G) with communication cable
- DC and AC circuit breakers sized per the installation manual
- Earthing kit compliant with UAE regulations
- Wi-Fi network for SolarMan monitoring setup
Safety Precautions
- Switch off all DC and AC breakers before wiring
- Cover solar panels to prevent DC voltage during installation
- Wear insulated gloves when handling DC connections
- Verify all connections before energising
Step 1: Mounting the Inverter
Mount the inverter on a solid wall in a ventilated area, protected from direct sunlight and rain. Maintain minimum clearances: 50 cm above, 30 cm on each side, and 50 cm below for airflow. Avoid west-facing walls that receive afternoon sun.
Step 2: DC Solar Panel Wiring
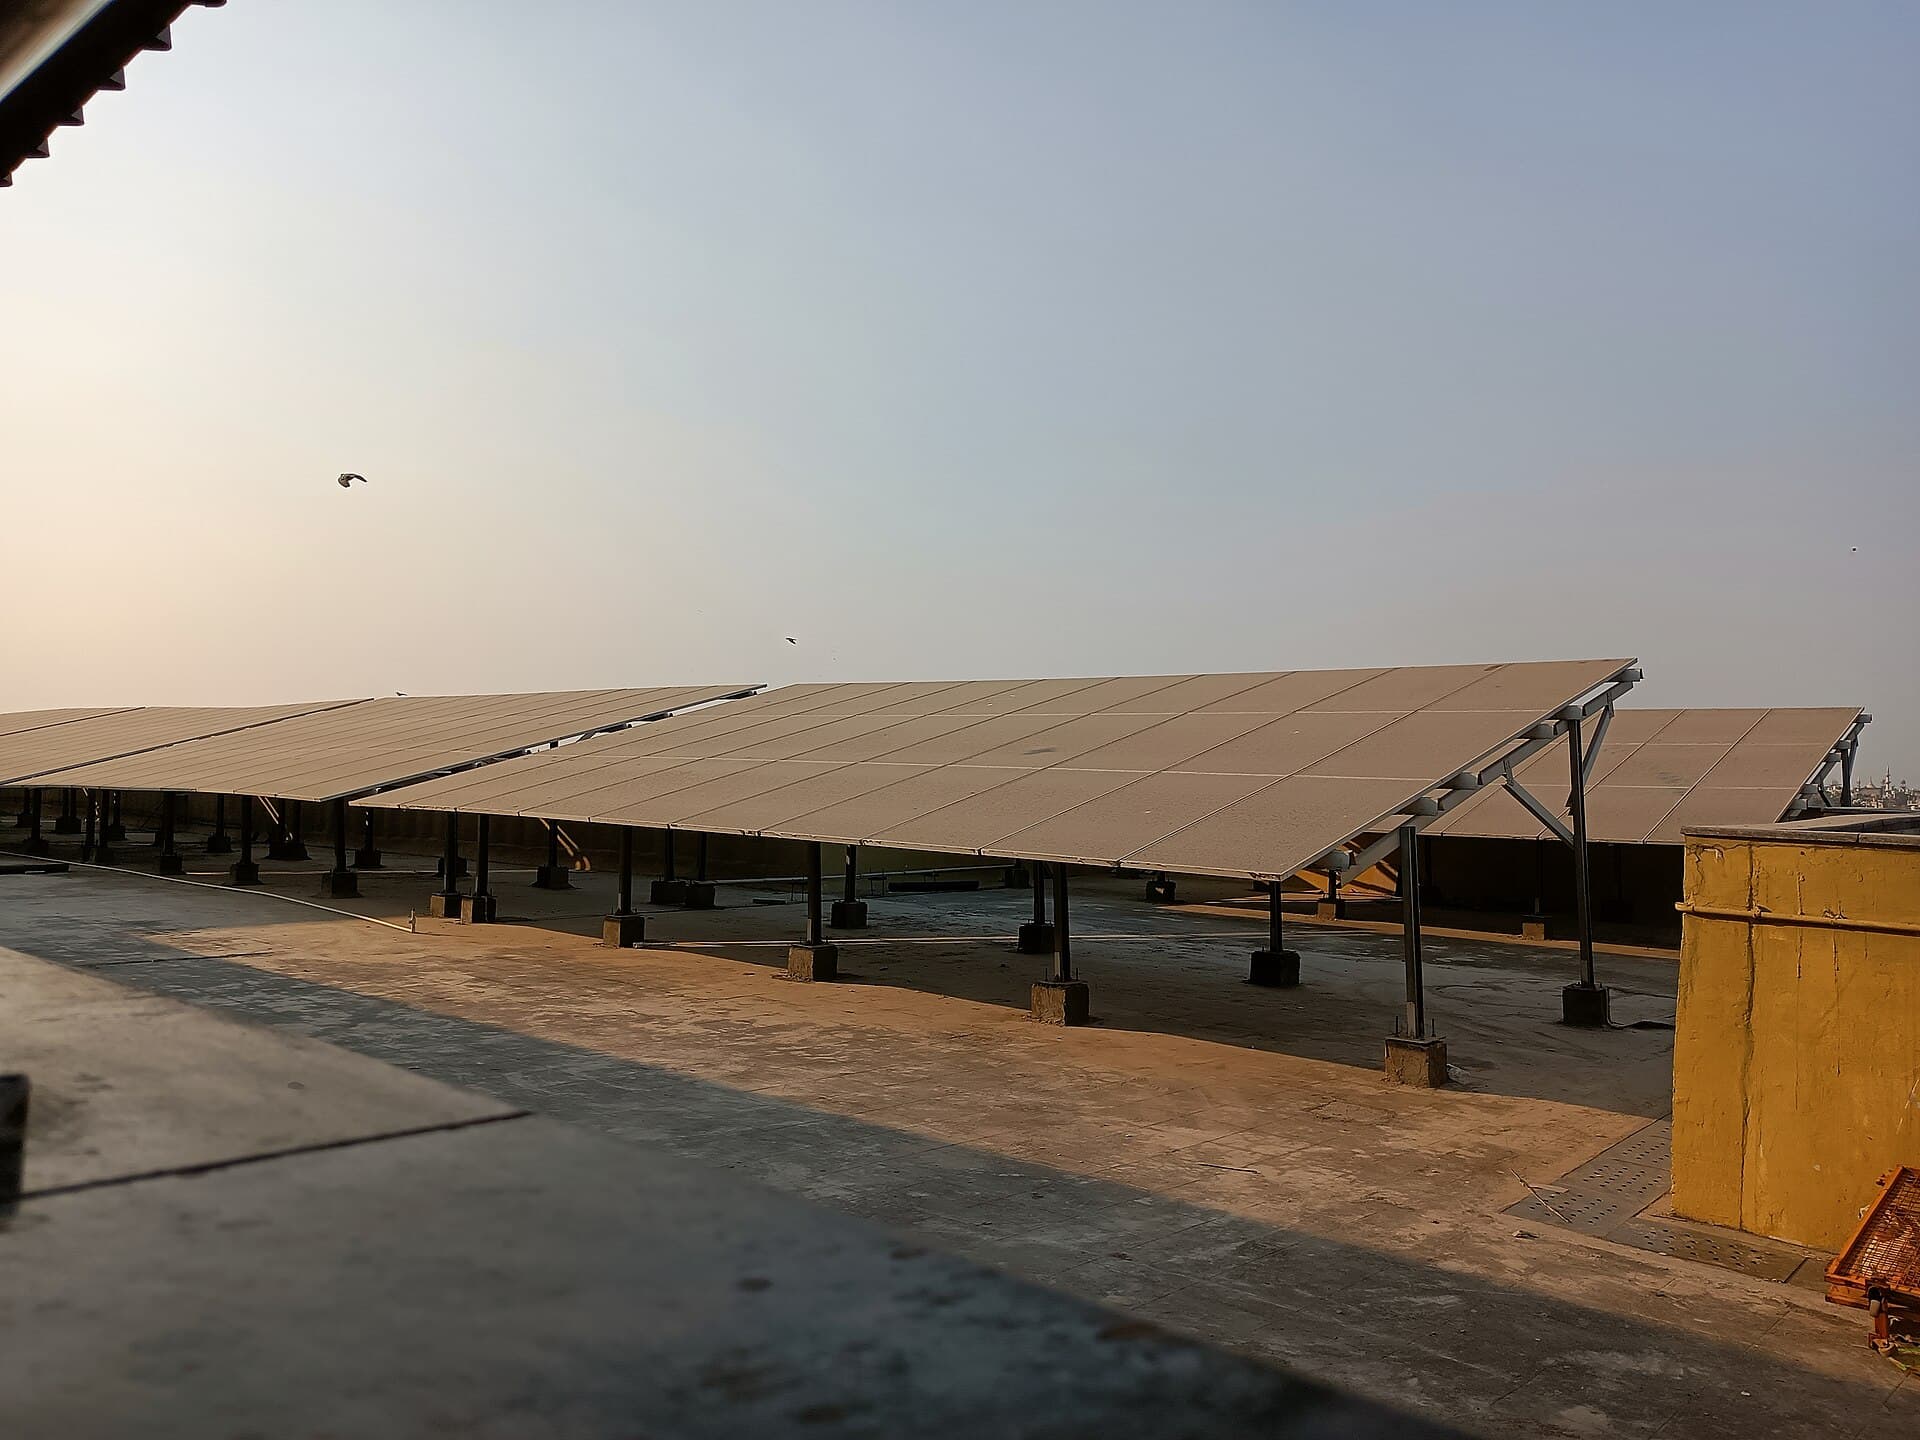
Connect solar panel strings to the MPPT inputs using MC4 connectors. The Deye SUN-8K has 2 MPPT inputs accepting 150-850V DC. A typical configuration uses 7-8 panels per string (550W panels) for optimal voltage.
- Calculate string voltage: panels in series x Voc (e.g., 8 x 49.5V = 396V)
- Verify voltage is within MPPT range (150-850V)
- Connect positive and negative MC4 leads to corresponding MPPT inputs
- Install DC isolator switch between panels and inverter
Step 3: Battery Connection
Connect the DEYE BOS-G battery using the provided battery cables and CAN communication cable:
- Mount the battery stack on a stable, level surface
- Connect battery power cables to the inverter BAT+ and BAT- terminals
- Connect the CAN communication cable from battery BMS to inverter
- Install a DC battery breaker between battery and inverter
Step 4: AC Grid Connection
Connect the AC output to your distribution board through an appropriately rated AC breaker. For three-phase installations, connect L1, L2, L3, N, and PE in the correct order.
Step 5: Commissioning
- Verify all connections are secure and correctly polarised
- Turn on AC breaker first, then DC breaker
- The inverter will boot and display the initialisation screen
- Set battery type to LiFePO4 in inverter settings
- Configure grid parameters per DEWA requirements
- Connect to Wi-Fi and register on SolarMan portal
- Verify solar production and battery charging on the app
Step 6: Wi-Fi and Monitoring Setup
The built-in Wi-Fi module broadcasts a hotspot during initial setup. Connect your phone to this hotspot, open the SolarMan app, and follow the setup wizard to connect the inverter to your home Wi-Fi network. Once connected, you can monitor generation, consumption, and battery status remotely.
Common Installation Mistakes
- Wrong string voltage: Exceeding 850V DC can damage the inverter permanently
- Missing DC isolator: Required by UAE electrical code between panels and inverter
- Poor ventilation: Inadequate airflow causes thermal derating in UAE summer
- CAN cable not connected: Battery will not charge without BMS communication
Frequently Asked Questions
Can I install a Deye hybrid inverter myself?
How long does it take to install a Deye hybrid inverter?
Do I need DEWA approval to install a Deye hybrid inverter?
Ready for a personalized quote?
WhatsApp us — average reply time under 15 minutes.