Step-by-step technical installation guide for Deye SG04 hybrid inverter in Saudi Arabia: site survey, mounting, DC/AC wiring, battery commissioning, SEC sign-off. Free WhatsApp support.
A Deye SG04 series hybrid inverter installed correctly in Riyadh delivers 12–15 years of reliable service with minimal downtime. The same inverter, installed without attention to KSA-specific details — heat-derating mount location, SEC-compliant grid profile, dust-sealed AC terminations — is on a path to underperform within 18 months and fail outright by year five.
This guide is the definitive technical procedure for SEC-registered installers, EPC technicians, and certified electricians installing residential Deye SG04LP1 (single-phase) and SG04LP3 (three-phase) hybrid inverters anywhere in Saudi Arabia. It covers every step from the day-zero site survey to the day-one SEC commissioning witness test, with the exact KSA settings, clearances, and best practices we've validated across 40,000+ Gulf installs.
📞 Stuck mid-install or pre-commissioning? WhatsApp +971 50 270 9100 for live technical support. Send a photo of the installation and we'll respond within 15 minutes during Gulf hours.
Before you start: prerequisites and licensing
Solar installation in Saudi Arabia is a regulated activity. Before site work begins, confirm:
- Installer licence: The lead contractor must hold a SEC-recognised solar contractor licence and the lead electrician a current SCE (Saudi Council of Engineers) registration.
- SERA equipment listing: The exact Deye model, panel make, and battery model must be on the current SERA approved equipment list.
- Connection approval: A SEC connection quotation must be issued and accepted before energising the system. (See our SEC net-metering guide for the full application process.)
- Site insurance / building consent: For older villas, structural sign-off may be required by the property owner's insurer.
- PPE: Class 0 insulating gloves, arc-rated face shield, fall-arrest harness for roof work, dust-rated respirator, IR thermometer.
Tools required:
- Insulated DC and AC torque wrenches (sizes per inverter manual)
- 500/1000 V insulation tester (megger)
- DC clamp meter (true-RMS, ≥ 1000 A)
- Solar irradiance meter (for site survey)
- MC4 crimper and decapping tool
- IR thermometer or thermal camera
- Cable lugs and a hydraulic crimper (for battery cables)
- Laptop with Solarman app and USB-RS485 dongle for commissioning
Stage 1 — Site survey (Day −7 to −3)

A 90-minute site survey done properly prevents 95% of avoidable rework. Walk through every point below.
Roof structural assessment
Saudi villas built before 2010 sometimes have hollow-core or thin-slab roofs that need verification before adding 18–32 panels (typical 5–10 kW residential array). Check:
- Roof type: solid concrete slab vs hollow-core vs lightweight composite
- Existing dead and live load capacity (request from owner's structural plans, or commission a structural engineer for villas without records)
- Waterproofing layer condition — if the roof needs waterproof membrane work, schedule it before mounting
Solar irradiance and shading
- Use a Sun-Path / Solmetric meter at the proposed array location at the times when shading is worst (typically early morning and late afternoon for Saudi villas due to neighbour walls and palm trees).
- Document shading from rooftop water tanks, AC condensers, and stair towers — these are the three most common hidden shaders in Saudi roofs.
- For arrays with > 5% morning or afternoon shading, plan optimisers or microinverters on the affected strings.
Electrical infrastructure check
- SEC service: Single-phase or three-phase. Note the service amperage (typically 60 A or 100 A residential).
- Main DB location and condition: The grid-tie connection point will be at the main distribution board. Verify spare breaker space and bus rating.
- Earthing system: Check the earth electrode resistance — must be < 10 Ω for Deye inverter operation. Saudi soil resistivity varies from 50 Ω·m (coastal) to 500 Ω·m (inland Najd region). Inland sites often need an extended earth pit or additional earth rod.
- Existing generator: If present, document the generator capacity (kVA), the changeover switch type, and whether it is intended to be integrated as AC2 input or kept on a separate manual changeover.
Inverter mounting location selection
This is the single biggest decision affecting Saudi inverter longevity. Apply these rules in order:
- North-facing exterior wall is the optimum. Avoids direct sun heating the wall.
- If north isn't available, east-facing covered location (covered by an awning or eave) is second best.
- Inside an air-conditioned utility room is third best — but only if the room has airflow at the inverter.
- Avoid west-facing walls (afternoon sun pushes wall to 65 °C+) and avoid confined unventilated cupboards.
- Maintain 300 mm clearance above and below the inverter, 150 mm on either side.
- The inverter must be at eye level for service access — between 1.4 m and 1.8 m floor-to-bottom.
📞 Send a photo of the proposed wall location to WhatsApp +971 50 270 9100. We'll confirm or recommend an alternative within an hour, including an annotated thermal-risk map for high-temperature months.
Battery placement
- Prefer indoor air-conditioned space (utility room, garage with ventilation). LiFePO4 chemistry tolerates 0–55 °C operating but lifecycle degrades above 35 °C ambient.
- Never install LiFePO4 batteries in direct outdoor sun — even IP65 enclosures suffer accelerated degradation above 45 °C internal cell temperature.
- Maintain a 1.5 m clear floor zone in front of the battery for service access.
- Verify smoke detector coverage and the location of the building's fire control panel.
Stage 2 — Mounting (Day 1)
Solar panel mounting
For a typical Saudi villa rooftop:
- Mark out rail positions per manufacturer spec (typically 1,200–1,400 mm rail spacing for 1.7 m panels portrait, or 1,000 mm landscape).
- Anchor to structural slab: use M10 chemical anchors with EPDM gasket waterproofing. Minimum embedment 80 mm in solid concrete. For hollow-core slabs, use through-bolts with backing plate.
- Apply Saudi-grade UV-stable EPDM sealant around every roof penetration. Use 2-part polyurethane underneath, EPDM top layer.
- Mount aluminium rails. For high-wind sites (coastal Jeddah, Eastern Province) tighten to 25 N·m; inland 18 N·m is typical.
- Bond all rails to building earth with M6 stainless bonding lug. Earth continuity < 0.1 Ω measured at any panel frame.
- Install panels using clamps torqued to manufacturer spec (typically 8–10 N·m). Tilt: optimum for KSA latitudes is 22°–26° from horizontal.
- String layout documented on the as-built drawing. South-facing for fixed-tilt; for east-west installations consider two strings.
Inverter mounting
- Confirm the wall is rated for the inverter weight (typical SG04LP3 8–12 kW = 35–55 kg).
- Mark out the four mount holes per the inverter template.
- Drill and insert M8 wedge anchors. Use plastic wall anchors only on solid concrete or hollow brick — never on plasterboard.
- Hang the wall bracket. Verify level with spirit level — must be plumb to within ±2°.
- Lift the inverter onto the bracket (two-person lift for SG04LP3 8 kW and above).
- Secure the inverter to the bracket with the supplied bracket lock screw.
Battery mounting
- Floor-mount cabinet must be on a level surface; no wedging.
- Wall-mount LiFePO4 modules: secure to load-bearing wall; never plasterboard. The full stack (3 × 5 kWh = 15 kWh) weighs ~165 kg.
- Maintain 50 mm side clearance, 200 mm top, 100 mm bottom for ventilation.
Stage 3 — DC wiring (Day 1–2)

PV string configuration
Match each string to one MPPT input. The Deye SG04LP3 has 2 MPPTs (8–12 kW models) or 3 MPPTs (15–20 kW models). Aim for:
- String voltage Vmp at 25 °C: 350–400 V for SG04LP3
- String voltage Voc at −10 °C (cold-start): must not exceed 600 V (Deye max)
- Number of panels per string: typically 12–20 panels of 450 Wp at Vmp ~36 V
Calculate per panel datasheet: panels per string × Vmp × 1.0 ≈ string Vmp at STC. For Saudi summer 50 °C, derate to 0.91 × Vmp.
DC cable selection
- Conductor: 4 mm² or 6 mm² UV-stable solar PV1-F cable. 6 mm² is standard for residential KSA installs to allow for current uprating.
- Run length: keep DC voltage drop < 2% at peak Imp. For long roof-to-inverter runs (> 25 m), upsize to 10 mm².
- Routing: physical separation from AC cables; minimum 100 mm spacing or use separate conduits.
- Roof penetration: sealed cable gland with EPDM grommet, IP65 minimum.
MC4 connectors
- Use only manufacturer-original MC4 connectors. Never mix MC4 brands — gender mismatch causes high-resistance joints that fail in summer heat (the #1 cause of F02 and F63 in our Gulf field data).
- Crimp with the correct crimp tool. Pull-test each crimp to 200 N before plugging.
- Apply dielectric grease to MC4 contacts in coastal sites (Jeddah, Dammam) to prevent salt-air oxidation.
DC isolator and combiner
- Install a DC isolator within 1 m of the inverter (SEC requirement). Rated for full string Voc with 25% margin: 800 V / 32 A typical.
- For multi-string systems, use a DC combiner box with per-string fuses (15 A typical for 6 mm² cable) and a Type 2 surge protective device (SPD).
- Coastal sites: add a Type 1+2 SPD instead of Type 2 alone. Lightning incidence is low inland but salt-air-induced surges occur on the coast.
Connecting DC to inverter
- Open both DC isolator and AC isolator. Confirm zero voltage at inverter PV input with a multimeter.
- Insert each PV string MC4 into the labelled inverter PV input. Listen for the click — the inverter MC4 must lock.
- Tighten cable glands to 4 N·m.
Stage 4 — Battery wiring (Day 2)
Battery cable selection
- For 5 kWh AI-W5.1-B modules (100 A continuous): 35 mm² cable minimum; 50 mm² for runs > 2 m.
- Use lugged terminations with hydraulic crimp; never split or twist.
- Battery + and battery − must be separately routed with 50 mm minimum separation, in flexible conduit if exposed.
- Bond battery enclosure to building earth.
Communication cable
- CAT5e or CAT6 RJ45 cable between inverter BMS port and battery BMS port.
- Pinout depends on battery brand — see your specific battery's installation manual. For Deye AI-W5.1-B: T568B at one end, T568B at the other, with the 4 pins specified by the BMS protocol.
- For multi-pack stacks, daisy-chain CAN with 120 Ω terminator at each end of the bus.
- Maximum communication cable length: 5 m.
Battery commissioning sequence
This sequence is critical — wrong order will trigger F58 or worse.
- With inverter OFF (DC + AC isolators open), connect battery − cable, then battery + cable. Tighten lugs to manufacturer torque (typically 12–15 N·m for 35 mm² lugs).
- Connect the BMS comm cable.
- Power up the battery first using its onboard switch.
- Wait 30 seconds for the BMS to boot. Confirm the battery LED indicator is green/normal.
- Power up the inverter via DC isolator.
- The inverter LCD should show Battery: connected. If it shows No Battery or shows F58, see error code troubleshooting.
Stage 5 — AC wiring (Day 2–3)

AC terminal layout
The Deye SG04LP3 has three AC terminal blocks:
- Grid (utility): the SEC connection
- Load: backup-loads sub-board (the loads that should remain powered when the grid is down)
- GEN: generator input (or unused)
Cable selection (single-phase SG04LP1)
- 5 kW: 6 mm² Cu THWN-2
- 8 kW: 10 mm² Cu THWN-2
Cable selection (three-phase SG04LP3)
- 8 kW: 4 mm² Cu THWN-2 per phase
- 12 kW: 6 mm² Cu THWN-2 per phase
- 16–20 kW: 10 mm² Cu THWN-2 per phase
AC breaker sizing
| Inverter | Grid breaker | Load breaker | Generator breaker |
|---|---|---|---|
| SUN-5K-SG04LP1 | 32 A 1P | 32 A 1P | 32 A 1P |
| SUN-8K-SG04LP3 | 20 A 3P | 20 A 3P | 25 A 3P |
| SUN-12K-SG04LP3 | 32 A 3P | 32 A 3P | 40 A 3P |
| SUN-20K-SG04LP3 | 50 A 3P | 50 A 3P | 60 A 3P |
Use SEC-approved breaker brands (Schneider, ABB, Siemens, or equivalent) with appropriate breaking capacity (10 kA minimum at 220 V, 6 kA minimum at 380 V).
Earthing
- Run a dedicated earth conductor from the inverter PE terminal to the building main earth bar.
- Conductor size: 6 mm² minimum, 10 mm² for inverters > 10 kW.
- Earth continuity test at end: < 0.5 Ω.
Connection sequence
- Verify all AC breakers are OFF.
- Connect Grid → Inverter (L1, L2, L3, N, PE for three-phase).
- Connect Inverter → Load sub-board.
- If using generator: Connect generator AC2 input.
- Tighten all AC terminal screws to spec (typical 1.5 N·m for control terminals, 4 N·m for power terminals).
- Insert dust-sealed cable glands at every AC entry point. Tighten to 4 N·m.
Insulation and continuity testing
Before energising:
- Insulation test (megger): AC cable to earth — > 10 MΩ at 500 V test
- Continuity test: earth bonding from inverter PE to main earth bar < 0.5 Ω
- Polarity check: confirm L and N not reversed at every termination
Stage 6 — Energisation and commissioning (Day 3)
First power-on sequence
- Confirm all DC and AC isolators are OFF.
- Close the DC isolator first.
- The inverter LCD should boot to Standby.
- Verify PV input voltages match expected string Voc.
- Close the AC grid breaker.
- The inverter should detect the grid and show Connecting to grid.
- After the configured reconnect time (60 s for KSA), the inverter should transition to Grid-tied and begin exporting/charging per its mode.
Configuration parameters for Saudi Arabia (essential)
Connect a laptop via USB-RS485 dongle and access the Deye configuration menu, or use the Solarman service-level account. Set:
| Parameter | KSA value | Notes |
|---|---|---|
| Grid Mode | Generic / Custom | Do not use EU or AU defaults |
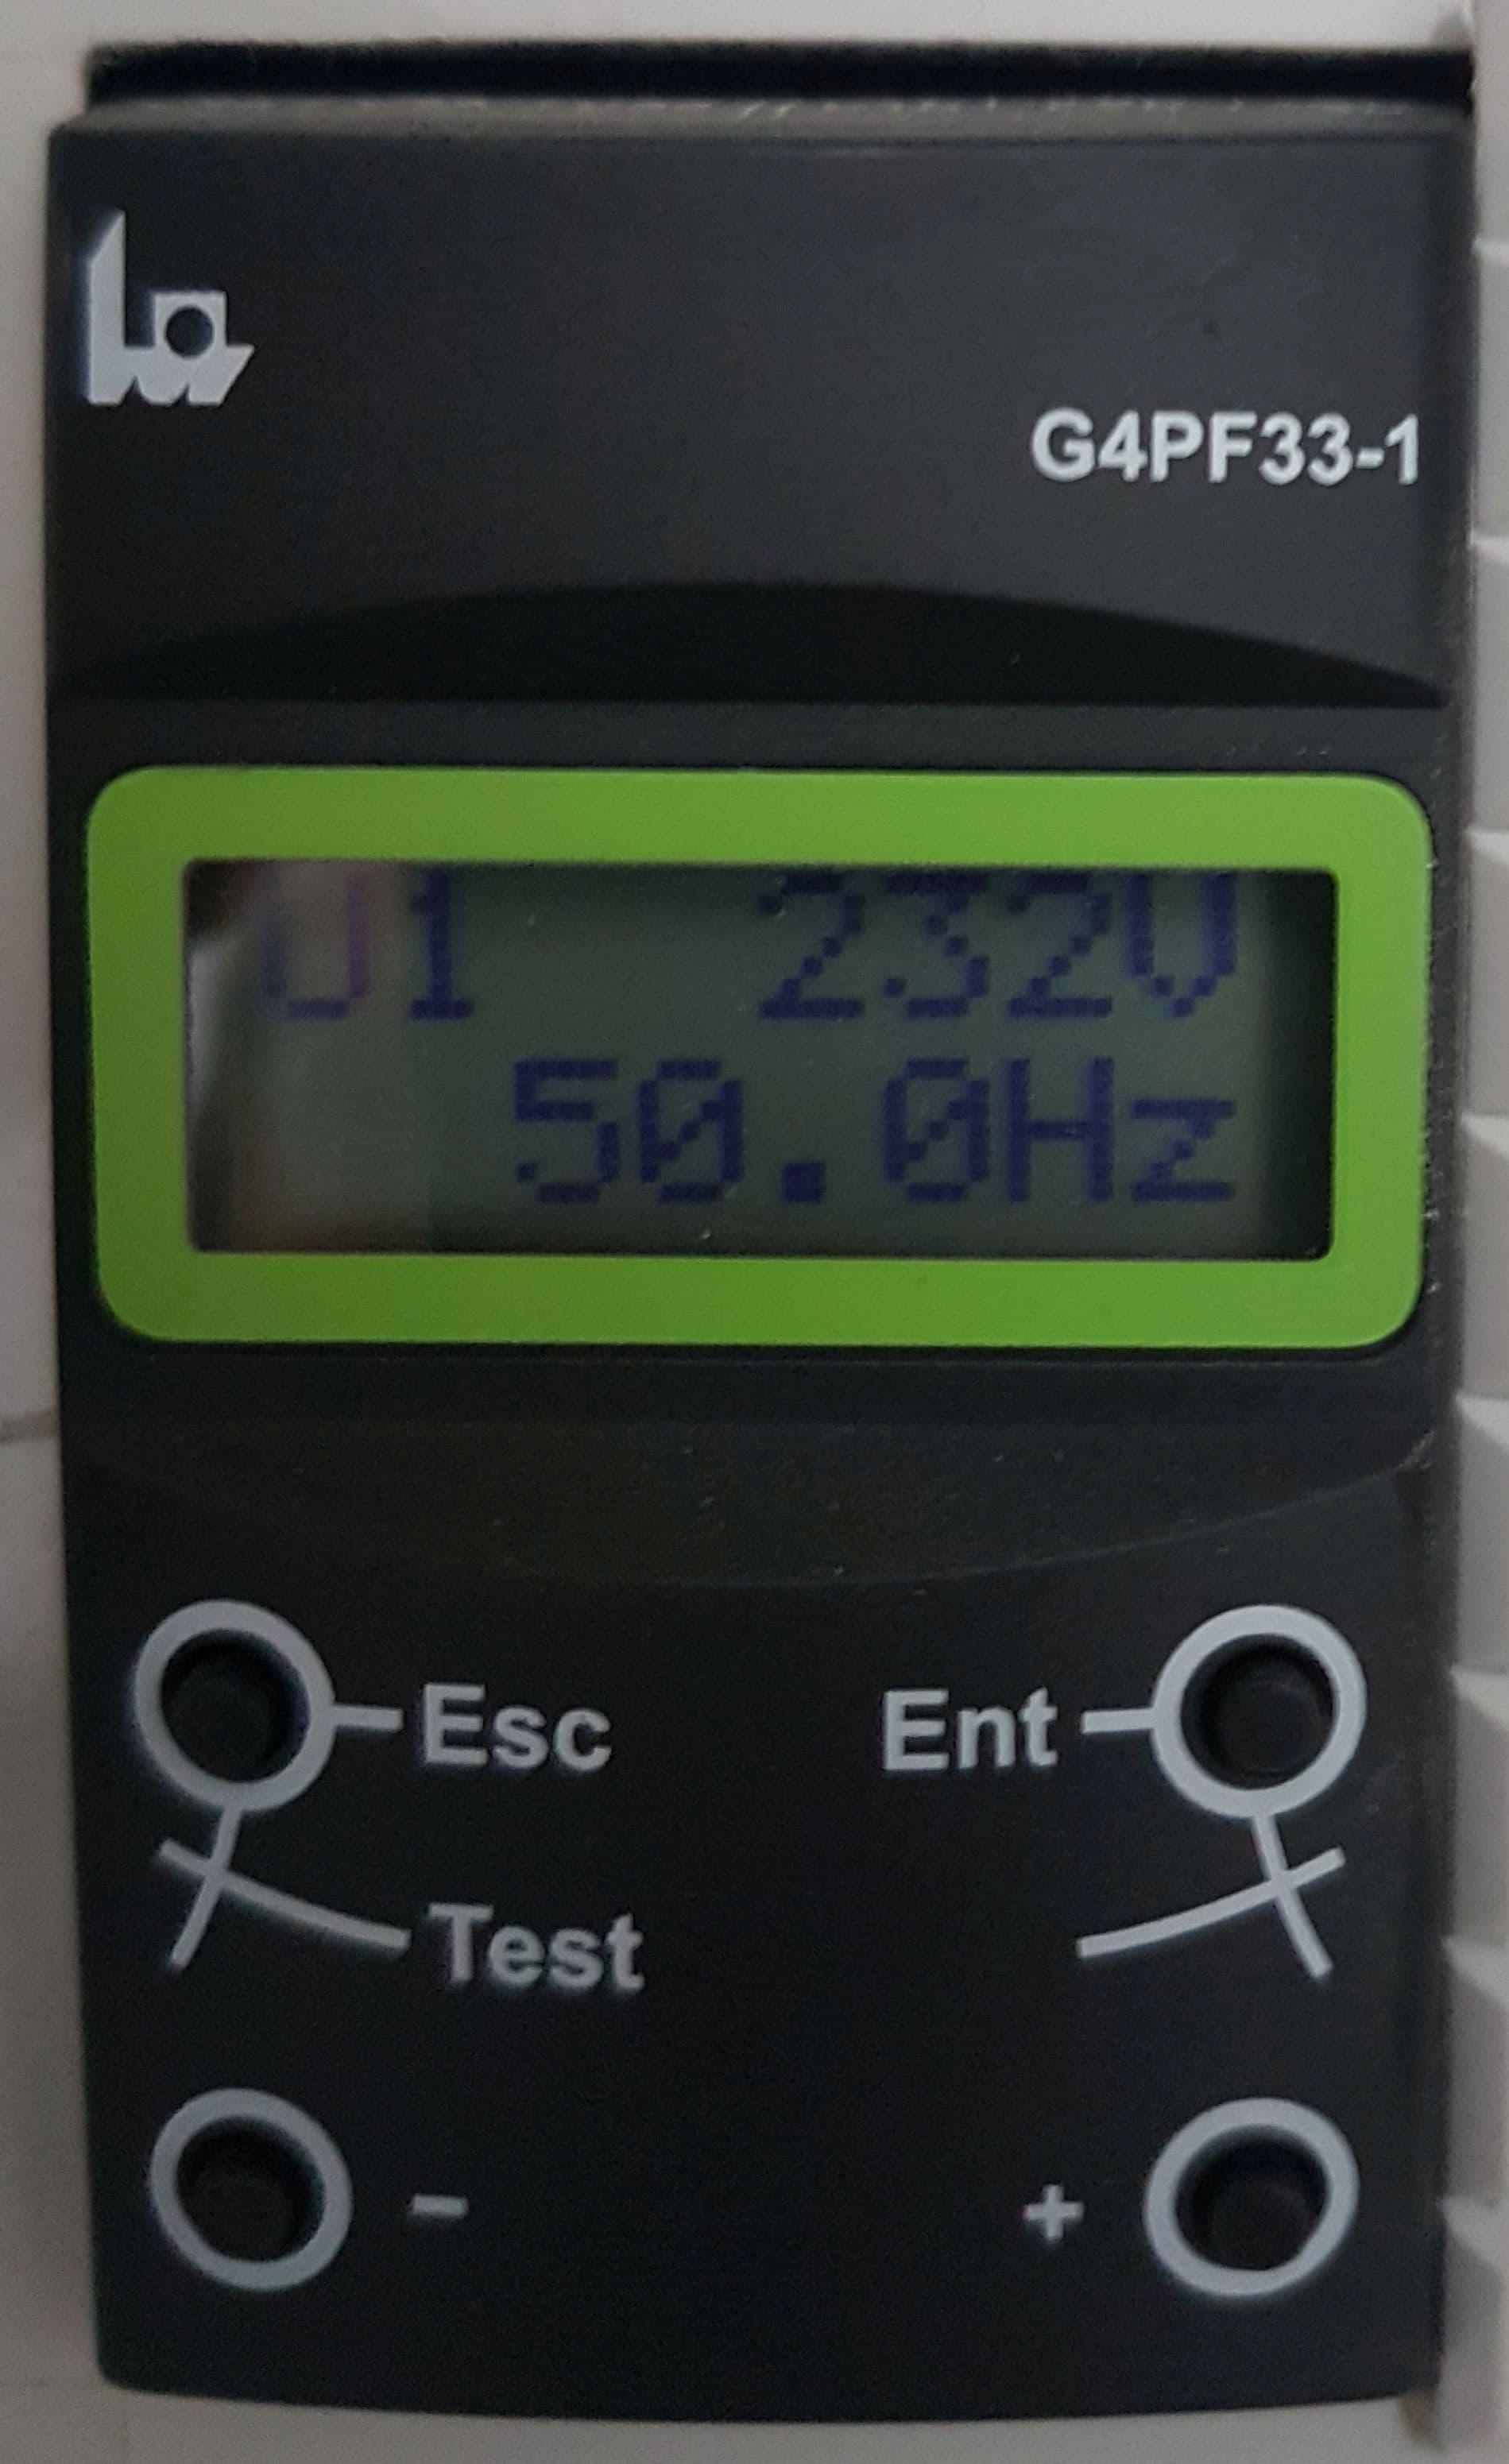
| Voltage limit (single-phase) | 207 V – 253 V | SEC compliance window |
| Voltage limit (three-phase) | 360 V – 440 V | |
| Frequency limit | 49.0 – 51.0 Hz | |
| Reconnect delay | 60 seconds | SEC mandatory |
| Anti-islanding | Enabled | Required |
| Export limit | Per SEC quotation | 0% if zero-export agreement |
| Battery type | LiFePO4 (specific make/model from drop-down) | Sets BMS protocol |
| Battery max charge current | Per battery datasheet | Capped at battery rating |
| Battery max discharge current | Per battery datasheet | |
| Time-of-use schedule | Per customer load profile | See sizing guide |
| Solarman cloud | Linked to customer account | Wi-Fi credentials required |
Solarman registration
- Plug the Solarman Wi-Fi dongle into the inverter LAN port.
- From a phone on the customer's home Wi-Fi, scan the dongle's QR code and follow the Solarman in-app prompts.
- Confirm the inverter appears online in Solarman within 5 minutes.
- Add the customer's email to the plant ownership.
Test runs
- Battery charge test: force the inverter to charge the battery from grid for 5 minutes. Confirm the BMS shows current matching the inverter command. Confirm no F58/F60-F62.
- Battery discharge test: force discharge for 5 minutes. Confirm load is supplied from battery without grid drop.
- Grid-down simulation (optional): open the grid breaker. The inverter should transition to off-grid mode within 20 ms. Loads on the LOAD output remain powered. Do not perform this if customer has medical equipment on the LOAD output.
- Generator test (if integrated): start generator manually. Confirm AC2 voltage and frequency are within the inverter's accept window. Confirm transition.
Stage 7 — SEC commissioning witness test (Day 3–14)
Once the system is energised and stable, schedule the SEC witness inspection. The inspector will:
- Verify the inverter model number and SERA approval certificate.
- Inspect the bidirectional meter installation.
- Run an anti-islanding test: open the grid breaker upstream of the meter; the inverter must trip within 2 seconds.
- Verify earthing continuity at the inverter and main DB.
- Sign the witness sheet — this is the document that activates net billing.
Common reasons inspectors fail commissioning:
- Missing or incorrect SPD on the DC side
- Earth continuity > 0.5 Ω
- Grid Mode left on EU/AU default (not Generic / KSA-compliant)
- Reconnect time < 60 s
- Bidirectional meter connection wrong-polarity (meter installer error, not yours, but you'll be asked to coordinate)
If the inspector fails the install, you usually have 14 days to remediate without re-fee.
Stage 8 — Handover to customer (Day 4 / post-witness)
Walk the customer through:
- Solarman app: show their daily generation, current state of charge, and how to view event history.
- Quarterly maintenance reminder: clean fan filter and heat-sink fins. Show them where these are.
- Safe restart procedure (in case of an F-code) — see the error code guide for homeowners.
- Emergency shutdown: show the AC and DC isolators and how to fully de-energise the system.
- Warranty card: complete with serial number, date, customer details, installer details. File one copy with the customer, one with the importer.
- Annual service contract: offer; in our experience 75% of Saudi customers accept when offered at handover.
📞 First-year service support: unlimited remote diagnostic via WhatsApp +971 50 270 9100. On-site support charged at distance from Riyadh / Jeddah / Dammam.
KSA-specific install best practices summary

The 12 things we've learned from 40,000+ Gulf installs that you won't find in the generic Deye manual:
- Always north-mount the inverter where possible; west-mount in summer = guaranteed F64 by July.
- Coastal AC terminations need conformal-coating or sacrificial junction boxes within 5 km of the sea.
- Inland earthing often needs supplementary rod or chemical earth pit — soil resistivity is high.
- MC4 brand consistency is non-negotiable. Mix-brand connectors are the #1 long-term failure mode.
- 120 Ω termination on CAN bus, both ends. Half the F58s we see come from missing terminators.
- Set Grid Mode to Generic — never leave EU/AU defaults active during SEC commissioning.
- 60-second reconnect time is mandatory; 5-second EU default will fail SEC witness.
- Quarterly cleaning is not optional in Riyadh / Najran / Hail. Educate the customer.
- Cable derate 8% for 50 °C ambient when sizing AC cables; copper ampacity tables assume 30 °C.
- Document the as-built single-line diagram — SEC requires this with witness paperwork; missing it delays approval 7-14 days.
- Insulation glove rating Class 0 (1000 V) for DC-side work; the SUN-30K and above can have 1000 V DC strings.
- Coastal sites need Type 1+2 SPD; inland Type 2 is sufficient. Don't skip — single SPD can save the IGBT module.
Next steps
If a code shows up post-commissioning: Deye Inverter Error Codes Complete Guide.
If you're still sizing the system: Hybrid Inverter Sizing for Saudi Villas.
For the SEC paperwork side: SEC Net-Metering Application Guide.
For pre-sales pricing transparency: 5 / 10 / 20 kW Solar System Cost Breakdown.
For thermal-management decisions: Why Deye Inverters Survive Saudi Heat.
📞 Live installer support, Gulf hours: WhatsApp +971 50 270 9100 · 📧 support@deyeinverters.net · 📺 Installation videos on Deye YouTube
External authority links
- Saudi Electricity Regulatory Authority (SERA) — equipment lists
- Saudi Electricity Company (SEC) — connection requirements
- Saudi Council of Engineers (SCE)
- SASO Standards Library — for cable, breaker and SPD certification
Frequently Asked Questions
How long does a residential Deye installation take in Saudi Arabia?
What grid mode setting should I use for SEC compliance?
Does the Deye inverter need a separate DC isolator in Saudi Arabia?
What earthing resistance do I need for a Deye install?
Do I need an SPD on the DC side?
How do I commission the battery without triggering F58?
What MC4 connector should I use with Deye?
Ready for a personalized quote?
WhatsApp us — average reply time under 15 minutes.